

 Quality of Life
Hytale Player List Mod
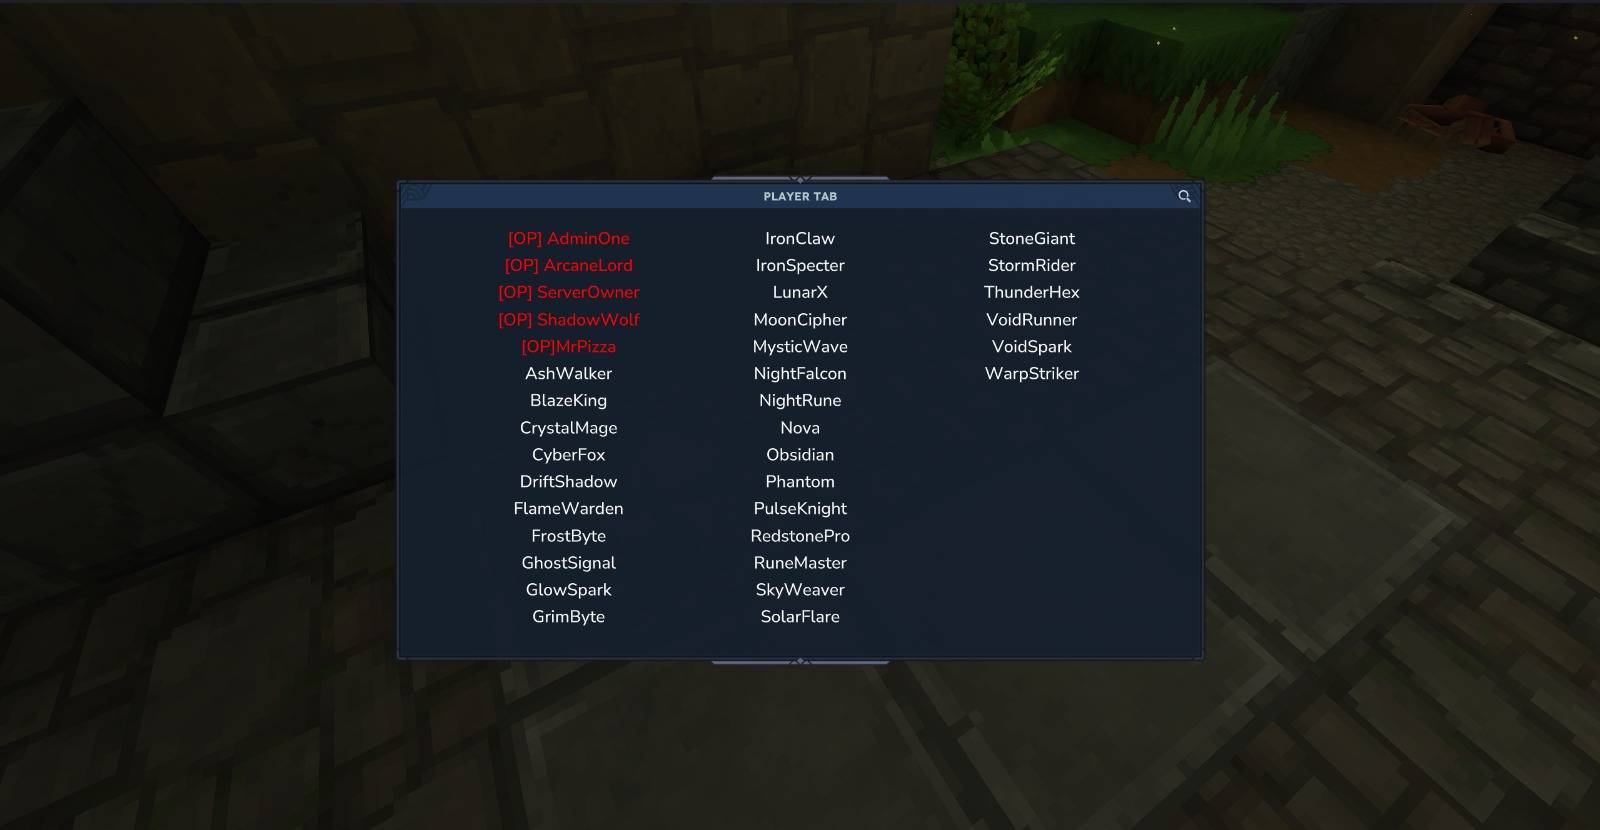
A Hytale server mod that provides a custom, auto-refreshing player list UI (also known as a "tab list").
Features
- Custom Player List UI: Displays online players in a custom, multi-column UI.
- Auto-Refreshing: The player list automatically updates at a configurable interval.
- OP and Member Distinction: Displays "OP" players with a distinct prefix and color.
- Simple Command: Players can open the list with the
/plcommand. - Configurable: All colors, prefixes, and the refresh interval can be customized.
Installation
- Build the plugin using the instructions below to generate a
.jarfile. - Place the generated
.jarfile into therun/modsdirectory of your Hytale server. - Start your server. The plugin will be loaded automatically.
Usage
To open the custom player list, use the following command in-game:
/pl
Configuration
The plugin generates a configuration file at mods/LucaSudios_PlayerList/config.yml on the first run. If the file does not exist, default values will be used.
Here is an example config.yml with all available options:
default:
  text: "[MEMBER] "
  tagColor: "#0000FF"
  nameColor: "#FFFFFF"

op:
  text: "[OP] "
  tagColor: "#FF0000"
  nameColor: "#FFFFFF"

refreshIntervalSeconds: 10
op: Settings applied to players with the "OP" permission.default: Settings applied to all other players.text: The prefix text displayed before the player's name.tagColor: The hex color code for the prefix text.nameColor: The hex color code for the player's name.refreshIntervalSeconds: The time in seconds between each automatic refresh of the player list.
Building from Source
This project uses Gradle to manage dependencies and build the project.
Requirements
- Java 21 JDK
- Hytale Server installed via the official launcher.
Build Steps
-
Clone the repository:
git clone <your-repository-url> cd PlayerList -
Configure Gradle Properties:
Ensure yourgradle.propertiesfile is set up correctly. -
Build the plugin:
Execute thebuildtask using the Gradle wrapper.- On Windows:
.\gradlew build - On macOS/Linux:
./gradlew build
- On Windows:
-
Locate the JAR:
The compiled plugin.jarfile will be located in thebuild/libs/directory.
Development
The project includes an IntelliJ IDEA run configuration named HytaleServer to run a local server for development and testing.
- Import the project into IntelliJ IDEA as a Gradle project.
- Let Gradle sync and set up the project.
- The
HytaleServerrun configuration should be available. Select it and click 'Run'. - The server will start in the
rundirectory within the project folder.